


Getting Started with the Code-a-Key Backpack
Code-a-Key Backpack
Have you ever wanted to combine Makey Makey and micro:bit? The Code-a-Key Backpack enables you to do just that! Trigger key presses in your Makey Makey projects with motion, temperature, light, and sound to unlock a new realm of possibilities!
We designed and built the Code-a-Key backpack to combine the strengths of both the Makey Makey and the BBC mico:bit (V1 or V2) into your projects in a simple and elegant way. No wad of wires, breadboarding (unless you want to!), or complicated circuits. The Code-a-Key Backpack enables the micro:bit to trigger up to 6 keypresses and full mouse control on the back of your Makey Makey. On top of that, the micro:bit can read if you have pressed a key or used the mouse and respond in any number of different ways… display an image on its display, play a sound, or even control a servo motor. Elevate your inventions with the Code-a-Key backpack!
Code-a-Key Backpack
$24.95

Have you ever wanted to combine Makey Makey and micro:bit? The Code-a-Key Backpack enables you to do just that! Trigger key presses in your Makey Makey projects with motion, temperature, light, and sound to unlock a new realm of possibilities!
NOTE: The Code-a-Key Backpack only works with Makey Makey version 1.5 or higher. Makey Makey and BBC micro:bit sold separately!
Before You Begin...
Before jumping right into using your Code-a-Key Backpack, we recommend that you take a moment and make sure you are comfortable with both the Makey Makey and the BBC micro:bit on their own as separate experiences befomre moving on with your Code-a-Key Backpack.
Recommended to Get Started with the Makey Makey
To become familiar with Makey Makey we recommend walking through a couple of these How-To projects that will build a foundational understanding of Makey Makey and how it works.

The Code-a-Key Backpack enables you to add functionality to your Makey Makey via programming a micro:bit. We recommend exploring the Makey Makey and get a few projects under your belt before integrating the micro:bit with the Code-a-Key Backpack. Here are a few projects to build that will help you gain creative confidence!
Get Started with Makey Makey
Hands On!
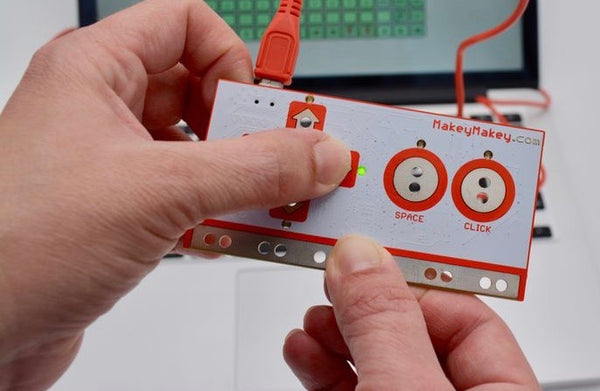
Get down to the basics and hands-on with Makey Makey for first timers!
Conductive?

Use Makey Makey to explore different materials and figure out what is conductive!
Cardboard Guitar
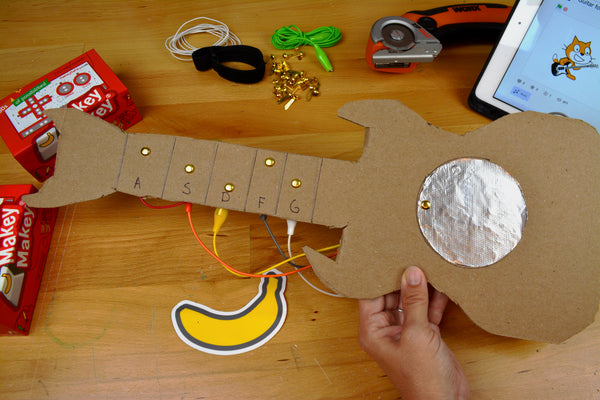
Build a cardboard guitar and use Makey Makey to jam out like your favorite band!
Useful Details of the micro:bit
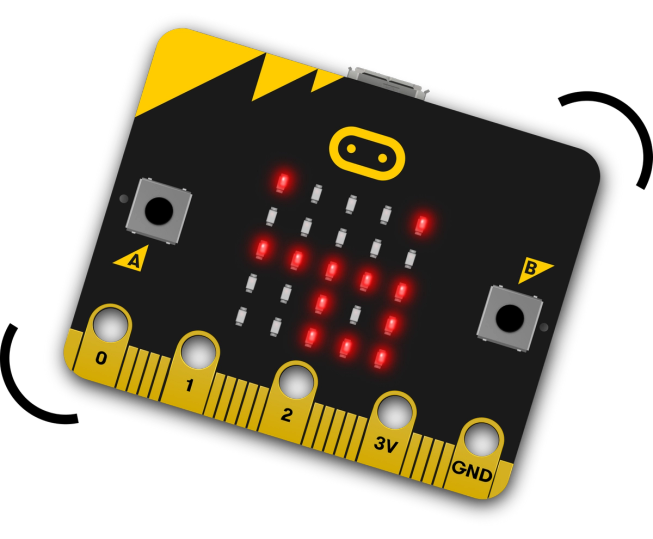
The micro:bit is a pocket-sized, programmable computer designed to make learning and teaching coding and electronics accessible and fun. It was developed by the BBC in the UK as part of their Make It Digital initiative to promote digital skills among young people. The micro:bit is equipped with various sensors, LEDs, buttons, and a Bluetooth module, making it a versatile platform for creative projects.

The micro:bit has a number of different features to it. Here are just a few…
- Microphone: Can detect level of sound and even record sounds
- Light Sensor: Can detect how bright or dark it is.
- Temperature Sensor: Can detect changes in temperature.
- Accelerometer: Can detect motion and orientation.
- Compass: Can detect its orientation based on magnetic fields
- LED Matrix: The micro:bit features a 5x5 LED matrix that can be used to display simple graphics, scrolling text, or feedback from sensors.
- Buttons: There are two programmable buttons (A and B) on the micro:bit, providing additional input options for projects.
- Wireless: The micro:bit has a built-in radio module, enabling it to communicate with other micro:bits.
- Edge Connector: The micro:bit has edge connectors that allow for additional components, such as sensors and actuators, to be connected, expanding the range of projects that can be undertaken like connecting to the Code-a-Key Backpack!
Recommended to Get Started with the BBC micro:bit
Once you have a handle on the Makey Makey, spend some time learning how to program the micro:bit using Microsoft MakeCode, which is the programming environment that we will use with the Code-a-Key Backpack. MakeCode has a plethora of different tutorials for the micro:bit. As a bare minimum, we would recommend following these three guides to build a firm foundation in coding and uploading your code to a micro:bit as well as getting familiar with the different sensors and outputs that are available to you! These highlighted tutorials are authored and published by the micro:bit Foundation and are part of their Make It, Code It series.

We recommend taking a moment to build up a foundational understanding of the micro:bit. Jump into one or two of these projects provided by the micro:bit Foundation to get your feet under you before inventing with the Code-a-Key Backpack!
Get Started with the BBC micro:bit
Animated Animals
Animate your own pictures on the micro:bit and display images, numbers and words on the LED array.
Get Silly
Expand the range of emotions you can show – jump up and down to show that you’re feeling silly!
Magic 8 Ball
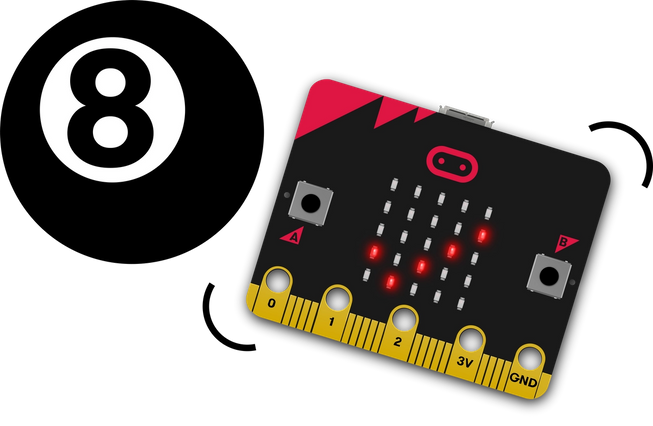
Play this classic game with two micro:bits and learn about selection, variables and random numbers at the same time.
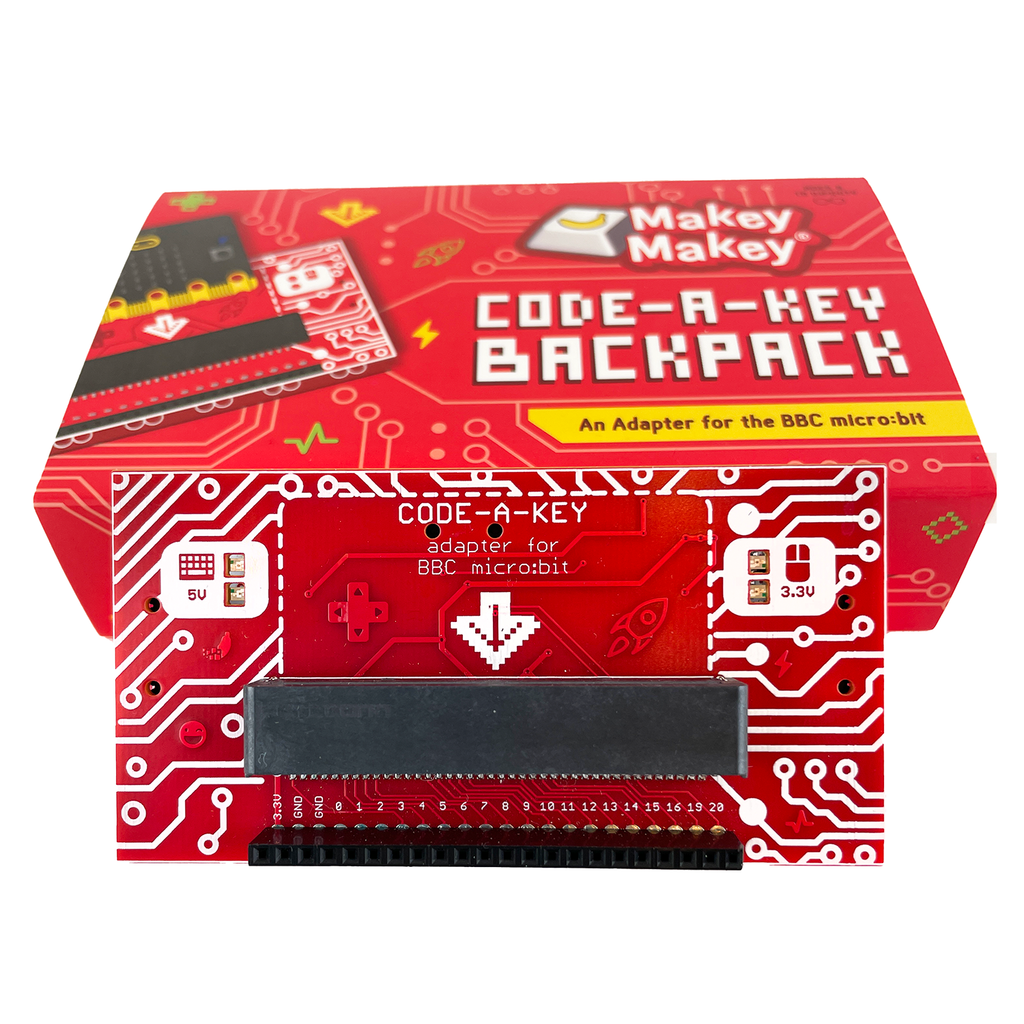
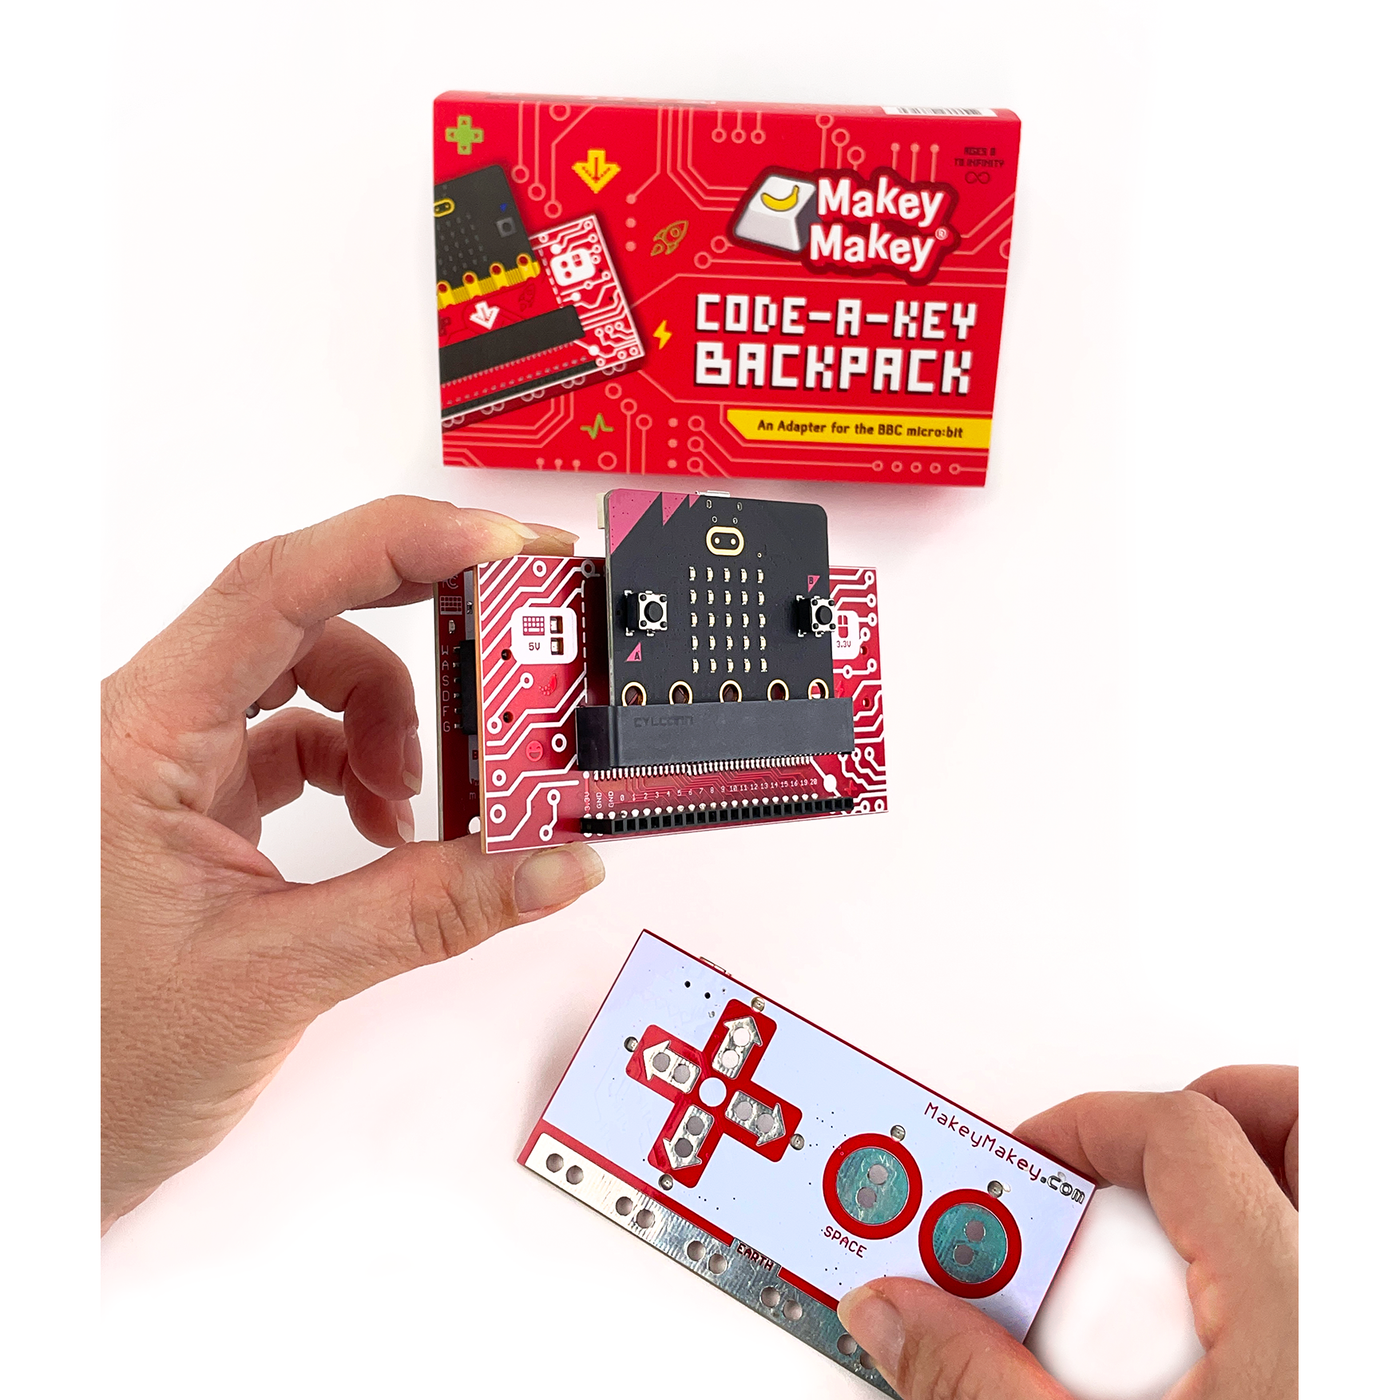
About the Code-a-Key Backpack
The Code-a-Key Backpack is an adapter board to connect the micro:bit to the Makey Makey and give the micro:bit access to the Makey Makey key and mouse pins on the back of the Makey Makey.

On the front of the Code-a-Key Backpack you will find first and foremost an edge connector for the micro:bit in the center of the board. The micro:bit is inserted into this connector with the LED array facing out as shown in the image below.

This connector provides power to the micro:bit from the Makey Makey and facilitates communication between the micro:bit and the different pins on the back of the Makey Makey as well as the row of pins just below the connector (more on those later!)

The backpack has four different LEDs on it. Two LEDs are power indicators; one for the Makey Makey 5 volt (5V) power supply and one for the 3.3 volt (3.3V) power supply for the micro:bit. Both of these LEDs should be on whenever your Makey Makey is powered via USB.

The other two LEDs which are green in color are indicator LEDs for Key and Mouse activity on the Makey Makey. Anytime a Key or Mouse input is used on the Makey Makey these LEDs will light up. As you use your Makey Makey these lights will light up and turn off. These lights will also do the same when your micro:bit is controlling the Makey Makey.

On the back of the backpack you will see a number of different electronic parts and pieces which take care of all of the magic to enable the micro:bit and Makey Makey to talk to one another. The main thing to focus on is the pin headers that plug into the back of the Makey Makey in three areas… Keyboard on the left, mouse control on the right and power at the top. When handling the backpack these pins can get bent if care isn’t taken when plugging-in and removing the backpack from the Makey Makey. If you do bend a pin, you should be able to carefully straighten it with a pair of needle nose pliers.

Back to the front... Just below the edge connector is a row of female pins where advanced users can attach external inputs and outputs to the backpack. Some example components could be LEDs, Servo Motors, simple analog sensors (light, temperature, etc). These pins correspond to the pin numbers on the micro:bit (0-20). We also provide a 3.3V supply pin as well as two Ground pins as well. If you are interested in using some of the more advanced options for the micro:bit and a breadboard, this header will be a gold mine for you!
Putting Everything Together
Now that you are familiar with the Code-a-Key Backpack, the Makey Makey and the micro:bit, let's jump in and put it all together!

We will start assembly by plugging the backpack into the back of your Makey Makey. Taking each board in-hand carefully align all of the pins on the backpack with the black pin headers on the Makey Makey and firmly press them together. Take a moment to double check that all of the pins made it into the headers and nothing is misaligned.

The next step is to insert your BBC micro:bit into the edge connector on the Code-a-Key Backpack. Holding the micro:bit with the LED array facing out (away from the backpack) insert the micro:bit bottom edge into the edge connector with a satisfying click. This connection should be firm and your micro:bit shouldn’t fall out if you turn everything upside down or move it around.

We will need both USB cables while working with the Code-a-Key Backpack. You will need the Makey Makey USB cable for the Makey Makey to work and use of your finished project. You will also need the micro:bit USB cable to upload code to the micro:bit.

Start by plugging the Makey Makey into your computer. This will power both your Makey Makey and the micro:bit. Both 5V and 3.3V LEDs will turn on and the micro:bit will start running whatever code was last uploaded to it. If your micro:bit is new, it will start going through a demo cycle showing LEDs and making noises!

Now, using the micro:bit USB cable plug the micro:bit into your computer! On your computer the micro:bit should show up as an external drive similar to a USB thumb drive. You are good to go!
NOTE: We know that your computer may have a limited number of USB ports and we are sorry for that inconvenience. If you do not have a USB port dongle, then you will need to swap which cable is plugged into your computer. If you are programming the micro:bit plug the micro:bit into USB and if you are testing your code / using your project plug the Makey Makey into your computer.
A First Code-a-Key Project

Now that you are familiar with all of the parts and have assembled your Code-a-Key controller it is now time to start using it! This first time use is usually called a "Hello World" project. We have a perfect one for you to get familiar with how to do the following...
- Start a new project in Microsoft MakeCode for micro:bit
- Install the Code-a-Key Extension for micro:bit
- Program your first project using the Code-a-Key Backpack
- Modify your first project for a different use!
Hello World!
Your first Code-a-Key project to get you up and running!
More Code-a-Key Projects!
When you finish your "Hello World" and are ready to press on, we have a number of other projects for the Code-a-Key Backpack ready for you to jump into!

Using the Code-a-Key Backpack and the materials from our Booster Kits and/or a few other easy to find materials we have put together a list of projects that help you explore different ideas to combine your Makey Makey and the micro:bit and take your inventions to the next level.
Code-a-Key Backpack Projects
Bouncy Face Controller

Build a tilting controller for our game Bouncy Face using the accelerometer on the micro:bit and Makey Makey.
Flash Light Sensor Piano

Use a light source to play the piano using the light sensor on the micro:bit and your Makey Makey to make sweet sweet music!
Physical Stomp Counter

Have the micro:bit keep track of and display the number of times you have stomped on a Makey Makey based stomp switch
Recommended Plug & Play Apps for the Code-a-Key Backpack
A Makey Makey equiped with the Code-a-Key Backpack is compatible with all of our free web apps! By providing free apps we believe that you can get to using your inventions faster which then means making the better over time. We simplify this onboarding step for you, but when completed these projects are ready for you to take on your own software projects to go with them and graduate from our apps.
Code-a-Key Backpack Recommended Apps
Alarm!

Use your Makey Makey and this app to know when your precious items are being snatched!
Sheet Music

Compose your own tunes and play them back with Makey Makey!
Make-a-Sketch

Use your Makey Makey to doodle and draw on your computer screen!
Bouncy Face

Keep that well known bouncing ball in play and break those blocks to win!
Space Rocks

Fly your ship through space on a galactic mission to destroy those pesky space rocks!
Construction Carl

Run and jump! Help Carl get through the construction site safely!