


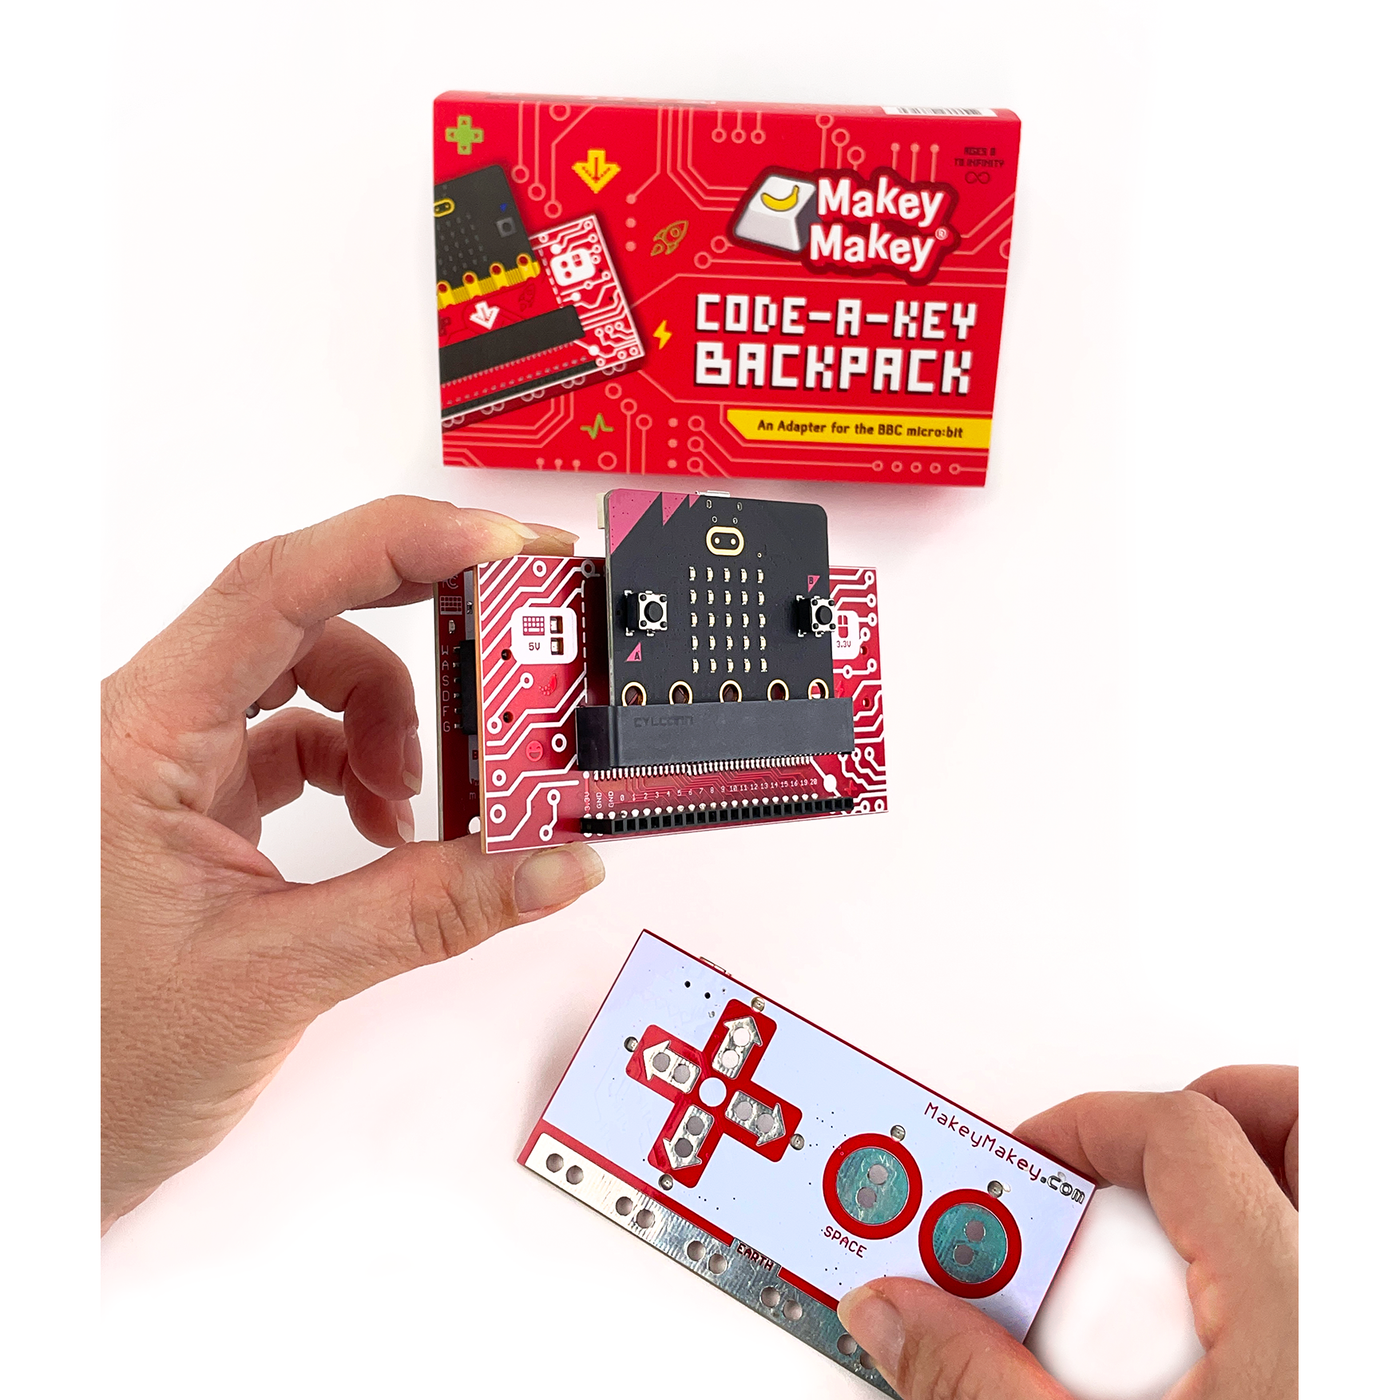
Have you ever wanted to combine Makey Makey and micro:bit? The Code-a-Key Backpack enables you to do just that! Trigger key presses in your Makey Makey projects with motion, temperature, light, and sound to unlock a new realm of possibilities! “Hello World!” is a term in the computer science and programming world that references a simple program or project that you build and get working to make sure that everything is in working order and that you correctly set everything up.
| Programming the BBC micro:bit |
|
“Hello World!” is a term in the computer science and programming world that references a simple program or project that you build and get working to make sure that everything is in working order and that you correctly set everything up. The 'Hello World’ for the Code-a-Key backpack is to get the micro:bit to press a single Makey Makey key (inputs a W key press) when you press the A Button on the micro:bit. NOTE: If you have never programmed your micro:bit using MakeCode we strongly encourage you to take some time and spend some time walking through the tutorials listed here. About the BBC micro:bitThe micro:bit is a pocket-sized, programmable computer designed to make learning and teaching coding and electronics accessible and fun. It was developed by the BBC in the UK as part of their Make It Digital initiative to promote digital skills among young people. The micro:bit is equipped with various sensors, LEDs, buttons, and a Bluetooth module, making it a versatile platform for creative projects. |

| Adding the Code-a-Key MakeCode Extension |
|
In your new project, the first thing we need to do is add the Code-a-Key Extension!
To add extensions to your MakeCode projects, click on the Extensions drawer that is just under the Math drawer. This will open up a window of different extensions for you to choose from.
In the search box, type “Makey Makey” or “Code-a-Key,” and you should be presented with a photo of the Code-a-Key backpack. Click on the image to add the Extension to your program coding blocks.
MakeCode will take a few seconds to load the Code-a-Key package blocks and then you will see it in the menu of drawers. You are now ready to start programming the micro:bit with the Code-a-Key Extension! |
|
|


| Your First Code-a-Key Program |
|
Starting with your blank MakeCode project and the added Code-a-Key Extension, you are now presented with two starting blocks: on start and forever.
The two blocks are the basis of all MakeCode programs! In our Hello World project, the first thing we need to do is to add our first and probably the most important block for Code-a-Key, and that is the initialize Makey Makey block.
This block tells the micro:bit that it is hooked up to a Code-a-Key backpack and starts specific processes behind the scenes. This block should be placed at the top of the on start block every time you plan to use a Code–a-Key backpack. Next, add a show icon block under the initialize block to display a heart on the micro:bit LED display when the initialization is complete.
With the initialize Makey Makey block in place you are now free to use the Code-a-Key block set as you see fit.
For this basic program, our goal is to have the micro:bit press and release the W key when you press the A button on the micro:bit. We add the on A button pressed event block to our program, and inside of that, we place a press and release W block from the Code-a-Key Extension to it. Now, any time that you press the A button on the micro:bit, it will trigger the W key on the Makey Makey (and consequently on your computer) to be pressed!
Now, upload your program to your micro:bit. If you have not yet paired your micro:bit with your computer now is a great time to do so!
Next to the Download button, click the three dots and select “Connect Device.” From the pop-up menu select your micro:bit and click “OK”. With your micro:bit now paired, all you have to do is click on the Download button to download the code onto your micro:bit. When the code is done loading onto your micro:bit, it should start the program right away, and you should see a heart icon appear on the LED display. Your first Code-a-Key project is now ready to use. Leave your micro:bit attached to its USB cable for now as you will probably be changing the code soon. |


| Using the Project |
|
You successfully coded your micro:bit to put the Code-a-Key backpack to use. Let's assemble the Code-a-Key backpack to work with Makey Makey.
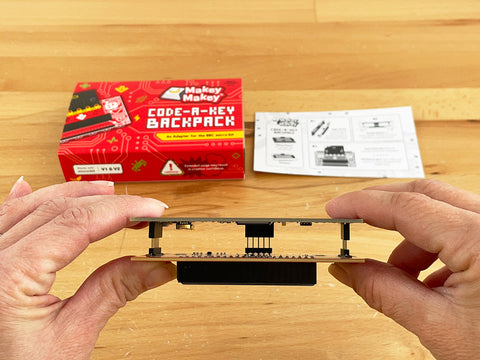
Following the instructions on the card insert, align the backpack pins with the headers on the Makey Makey and gently squeeze together.
Then grab your micro:bit and place it with the LED array facing out as shown above. Now is the time to test out your code with the Makey Makey Alarm App!
Once the Makey Makey Alarm App is opened, we need to make one change before using it and that is to change what key triggers the alarm. From the Settings window on the right, arrow through the choices to change the TRIGGER KEY to “W”.
Now press the A button on the micro:bit. You should see the Green LED next to the keyboard icon on the Code-a-Key backpack light up, and set off the alarm app! Success!!!! |


| If it Doesn’t Work… |
|
Projects don’t always work the first time! That is OK! Be sure to double check the following things…
|
|
|
| Changing the Input |
|
Great work on your “Hello World!” Now let’s take it up a notch and kick the tires on the micro:bit a little more. Jump back into your MakeCode program, and let’s change a few blocks around!
We are going to use a different sensor other than the A button on the micro:bit. We are going to use the microphone to trigger the W key when it senses a “loud noise”. From the Input drawer, bring in the on loud event block. Drag the press and release [W] key block from the on button A Pressed event and place it in your new on loud block. NOTE: If you are using a V1 micro:bit, you do not have a microphone on your micro:bit. We recommend replacing the on loud block with the on shake block!
So, now the micro:bit will be using the microphone to listen to the ambient sound around it, and when it gets too loud, it will execute the press and release the W key block. Now, upload your code and retest your project with the Alarm App. Now when you yell or make a loud noise the alarm should go off. NOTE: If you are using the on shake block instead of the on loud block your micro:bit will trigger when you shake the micro:bit instead of it being too loud. Repurpose Your Project!With your sound-triggered Makey Makey project, you are now at the point of asking yourself “What else can I do with this?” A great place to be! As a start to repurposing your “Hello World” we recommend using your simple controller to play a single-button game of some kind. We highly recommend using our Runner App which can be configured to the W key!
Open the Runner AppWith the Runner App open, use the settings menu on the right to change the Jump key to “W”. Now click the play button in the bottom right corner of the window. You can now yell or make loud noises to make Carl jump and avoid tripping or the sharp tools flying at him! |
|
|


| Exploring the MakeCode Package |
|
With a good grasp on triggering a key press with the Code-a-Key backpack and MakeCode we want to take a closer look at the other blocks in the Code-a-Key Extension and unlock the possibilities of what you can invent with the ability to Code-a-Key! Initialize Block
The initialize Makey Makey block, as stated before, is required for the Code-a-Key backpack to work with your micro:bit! Place this block in your on start block in all of your Code-a-Key MakeCode projects! Key BlocksThe following are descriptions of the basic blocks that control and use the keyboard keys on the Makey Makey.
Mouse BlocksThe following are descriptions of the basic blocks that control and use the Mouse controls on the Makey Makey.
For more fun projects, check out:Code-a-Key Project #0 Hello World (this guide) Code-a-Key Project #1 Stomp Switch Code-a-Key Project #2 Bouncy Face Tilt Controller Code-a-Key Project #3 Flashlight Piano
|
|
|


Supplies
- Makey Makey
- Code-a-Key Backback
Products
- Makey Makey Classic
- Code-a-Key Backback <need link>